

Ideogram 4.0 landed in June 2026 as an open-weight text-to-image foundation model that finally handles text rendering at production quality. If you run a WooCommerce store or WordPress site and you've struggled with AI-generated product images that mangle brand names, pricing badges, or multilingual labels, this model changes the equation. It's a 9.3-billion-parameter Diffusion Transformer trained from scratch, capable of photoreal 2K output with bounding-box layout control. That means you can position a logo or headline exactly where you need it on the canvas, and the text comes out sharp, legible, and correctly spelled across multiple languages. This article walks you through what Ideogram 4.0 does differently, how to use it for WooCommerce assets, and the specific gotchas that trip people up when integrating AI-generated images into their WordPress workflow.
The setup
Ideogram 4.0 is accessed via the Ideogram API or web interface, not a WordPress plugin dashboard. You generate images externally, then upload them to your Media Library under Media > Add New or insert them directly into product galleries in WooCommerce > Products > Edit Product > Product image. This model does not auto-populate your product catalog or rewrite existing alt text; it creates assets you manually place.
Why Text Rendering Matters for WooCommerce
Every text-to-image model before Ideogram 4.0 struggled with readable text. You'd prompt "product box mockup with 50% off badge" and get garbled letters or distorted fonts. That's a dealbreaker for WooCommerce stores selling branded goods, subscription boxes, or anything with packaging photography. You need the product name, price tag, or promotional sticker to look professional, not like a placeholder filled with random characters.
Ideogram 4.0 solves this with production-fidelity text rendering. It supports multilingual text, so a French "Livraison Gratuite" banner or a Japanese product label comes out correctly formed. The model also handles denser type at smaller scales, which means you can generate hero images with fine-print disclaimers or SKU labels without the text bleeding into illegibility. For a WooCommerce site running in multiple regions, this saves hours of Photoshop cleanup or custom photography for every locale.
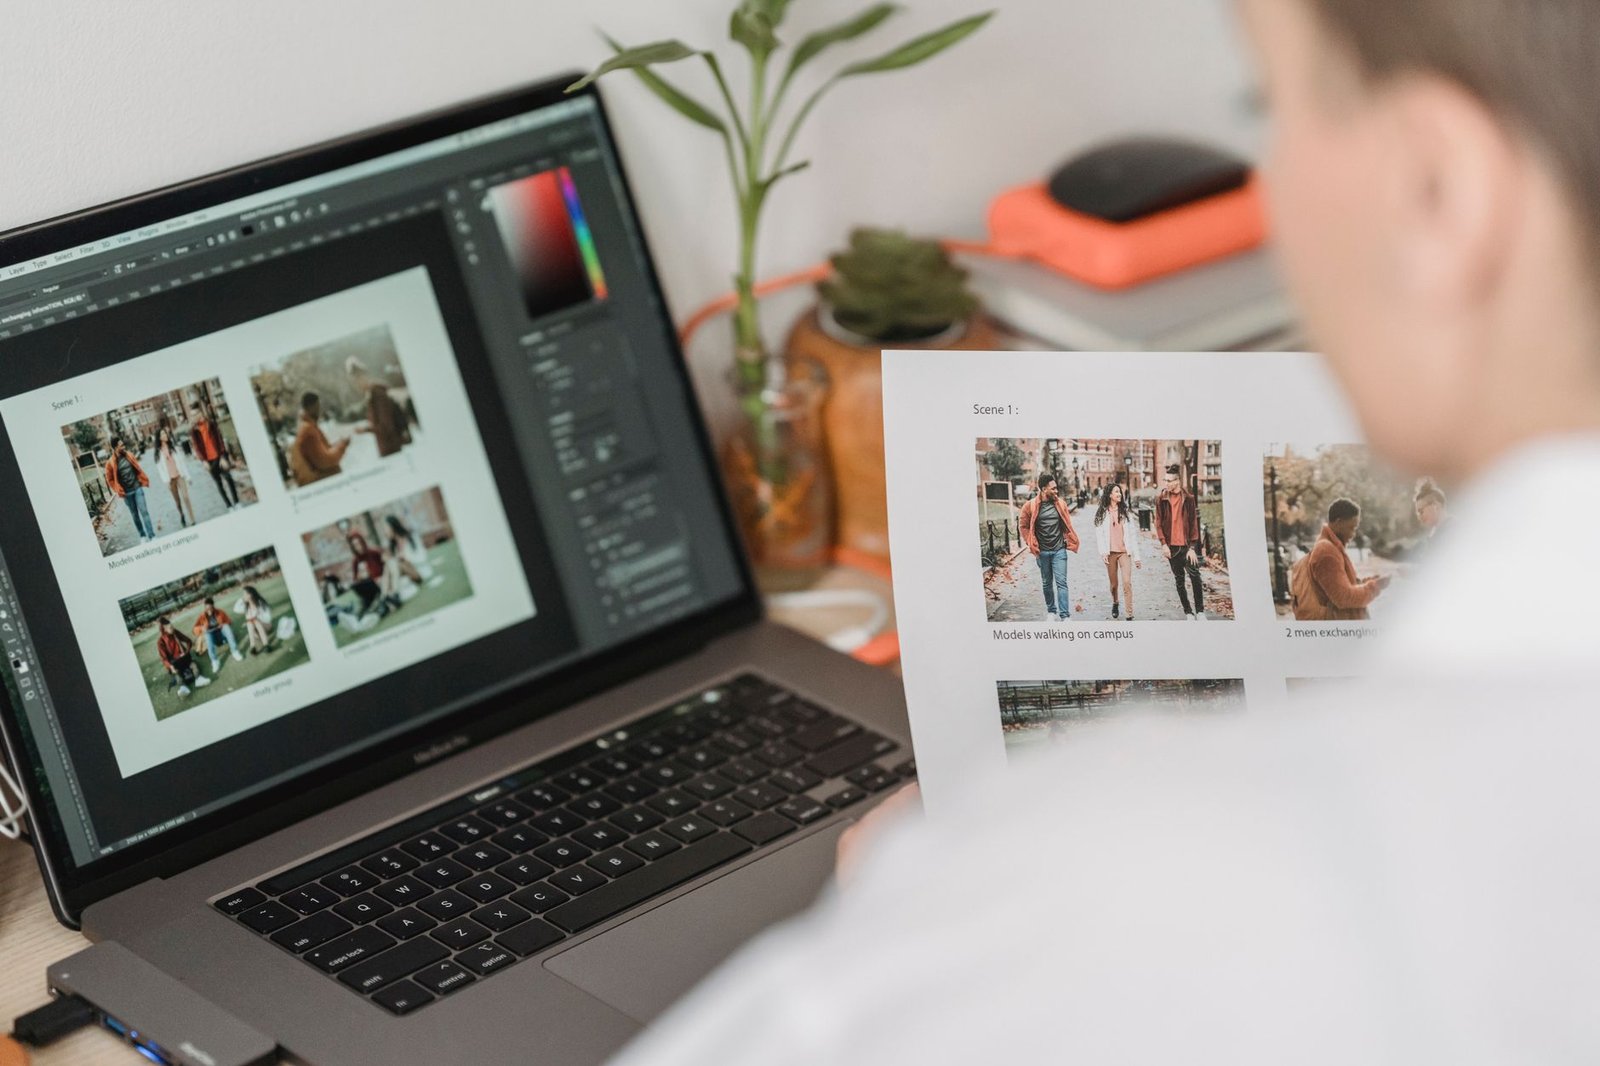
The bounding-box layout control is where it gets practical. You tell the model exactly where you want the logo, the headline, or the product shot. Instead of hoping the AI places your brand mark in a visible corner, you define coordinates and the model respects them. This control matters when you're generating category banners, seasonal promotion graphics, or product comparison charts that need consistent alignment across dozens of SKUs.
Generating Images With Bounding-Box Placement
When you submit a prompt to Ideogram 4.0, you can include bounding-box parameters that lock specific elements to regions of the canvas. For example, if you're creating a promotional banner for your WooCommerce homepage, you might define a box in the top-left quadrant for your logo and another in the bottom-right for a discount badge. The model then generates the image with those elements in place, maintaining your composition rules.
Here's a simplified example of how you structure a bounding-box API call:
{
  "prompt": "modern ecommerce banner with laptop on desk, coffee cup, soft lighting",
  "bounding_boxes": [
    {"text": "ThemesCorp", "region": [50, 50, 300, 150]},
    {"text": "30% OFF", "region": [700, 500, 900, 600]}
  ],
  "resolution": "2048x1024"
}
The coordinates specify pixel positions for each text element. You generate the image, download it, and upload it to your WordPress Media Library. From there, you insert it into a WooCommerce product page, a blog post, or a custom homepage section built with Gutenberg blocks or a page builder.
The 2K resolution output is high enough for hero images, product detail shots, and print-ready mockups. You don't need to upscale the image in a separate tool or worry about pixelation when customers zoom on mobile. The photoreal quality means skin tones, fabric textures, and reflections look convincing, not airbrushed or cartoonish.
Uploading and Optimizing AI Images in WordPress
Once you've generated an image with Ideogram 4.0, you treat it like any other asset in your WordPress workflow. Navigate to Media > Add New, drag the file into the uploader, and WordPress creates the standard thumbnail, medium, and large variants. If you're using WooCommerce, go to Products > Edit Product, scroll to Product image, and click Set product image to assign the AI-generated photo.
WordPress doesn't know the image came from an AI model, so you need to fill in alt text manually. The model doesn't pass metadata to the file, and leaving alt text blank hurts accessibility and SEO. Write a descriptive string like "laptop on office desk with ThemesCorp logo and 30% off badge" rather than generic filler.
Image file sizes from Ideogram 4.0 can be large because of the 2K resolution. Install a plugin like ShortPixel or Imagify to compress the PNG or JPEG without losing visible quality. WooCommerce product pages load faster when your hero images are under 200KB, and Google's Core Web Vitals favor smaller assets. Run the compressed file through your plugin's bulk optimizer after upload, or set it to auto-compress on upload if your hosting plan supports background processing.
If you're generating dozens of product images for a new collection, automate the upload with the WordPress REST API or a tool like WP All Import. You can map the image URL, alt text, and product ID in a CSV, then bulk-import everything in one pass. This saves time compared to manual clicks for each SKU, especially during seasonal catalog refreshes.
What Breaks
Text Overlaps or Renders Outside the Bounding Box
You define a bounding box for a product name, but the generated image places half the text outside the region or overlaps it with another element. This happens when the prompt is too complex and the model prioritizes compositional balance over strict coordinate adherence. The fix is to simplify your prompt and reduce the number of bounding boxes in a single request. Instead of placing a logo, headline, price badge, and background texture in one pass, generate the background separately, then layer the text elements in a second request or in Photoshop. Alternatively, increase the pixel dimensions of each bounding box by 20 percent to give the model more room to fit the text without clipping.
Image Uploads but Breaks WooCommerce Gallery Layout
You upload a 2K image to a WooCommerce product page, and the gallery thumbnails look stretched or the zoom function fails. This occurs because your theme's product gallery CSS expects a specific aspect ratio, and Ideogram 4.0 outputs a non-standard dimension like 2048x1365. The fix is to crop the image to match your theme's ratio before upload. Most WooCommerce themes default to 1:1 or 4:3 for product images. Use a tool like Photopea or the WordPress block editor's crop feature to resize the canvas, then re-upload. If you're generating many images, request a consistent resolution in the Ideogram API, such as 2048x2048, so every output matches your theme's requirements without manual editing.
Multilingual Text Renders Correctly but Breaks SEO Plugin Rules
You generate a French product banner with "Livraison Gratuite" text, upload it to WordPress, and your SEO plugin flags the image because the alt text doesn't match the on-page language. Yoast or Rank Math expects English alt text if your site language is set to English, and the mismatch lowers your content score. The fix is to write bilingual alt text that describes the image in your site's primary language while mentioning the foreign-language text element. For example, use "free shipping banner in French with Livraison Gratuite text" instead of leaving it blank or writing only in French. If you run a multilingual WooCommerce store with WPML or Polylang, assign different alt text per language variant so each translation gets appropriate metadata.
FAQs
Can I Use Ideogram 4.0 to Replace All Product Photography?
You can generate lifestyle shots, mockups, and promotional graphics, but you still need real product photos for legal compliance and customer trust. Many jurisdictions require actual product images for consumer protection, and shoppers expect at least one unedited photo showing texture, size, and detail. Use Ideogram 4.0 for hero banners, seasonal campaigns, and variation previews where synthetic images add value without misleading buyers.
Does WordPress Store Ideogram Metadata in the Media Library?
No. When you upload an AI-generated image, WordPress treats it like any JPEG or PNG. The Media Library doesn't record the prompt, bounding boxes, or model version. If you want to track which images came from Ideogram 4.0, add a custom field to the attachment post type using Advanced Custom Fields or a similar plugin, then log the prompt text during upload. This helps you regenerate or update images later without guessing the original parameters.
How Do I Batch-Generate Product Images for Hundreds of SKUs?
Write a script that loops through your product list, constructs an Ideogram API request for each SKU with unique text and bounding boxes, downloads the result, and uploads it to WordPress via the REST API. Use a language like Python with the requests library for the Ideogram call and wordpress-api for the upload. Store your prompts and product IDs in a CSV so you can audit which images were generated and re-run the script if you need to refresh graphics after a rebrand or seasonal update.
What Happens if Ideogram Renders the Wrong Font Style?
Ideogram 4.0 chooses fonts based on the prompt context and training data. If you need a specific typeface, include the style in your prompt, such as "bold sans-serif headline" or "script font logo." The model approximates the style but doesn't support exact font matching like Adobe Fonts. If brand consistency is critical, generate the image with placeholder text, then overlay your actual font in Canva, Photoshop, or Figma before uploading to WordPress. This hybrid workflow lets you control typography while still benefiting from the model's layout and rendering quality.
Can I Automate Alt Text for Ideogram Images Using the Prompt?
Yes, but you need a middleware step. Write a script that saves the Ideogram prompt alongside the image file, then parses the prompt into a clean alt-text string during WordPress upload. For example, the prompt "red running shoes on wooden floor with 20% off badge" becomes "red running shoes on wooden floor with twenty percent off badge." Strip special characters, expand numerals, and limit the string to 125 characters. This automates accessibility without manual rewriting, especially useful when generating dozens of seasonal banners at once.
Verdict: Use Ideogram 4.0 for WooCommerce banners, multilingual promotional graphics, and branded mockups where text clarity matters. Stick with real product photography for SKU detail shots and legal compliance. Pair the model with a compression plugin and a CSV import workflow if you're generating images at scale.